
How to use Trusted Zoning
Using Trusted Zones is a feature that will allow you to have your VPN turn itself off or on, whenever your device is located within a specified zone. Whenever you visit a certain location, the VPN will create a zone automatically for that area. You can also manually create customized zones based on Address, Map Coordinates, or by manually selecting a point on the interactive map.
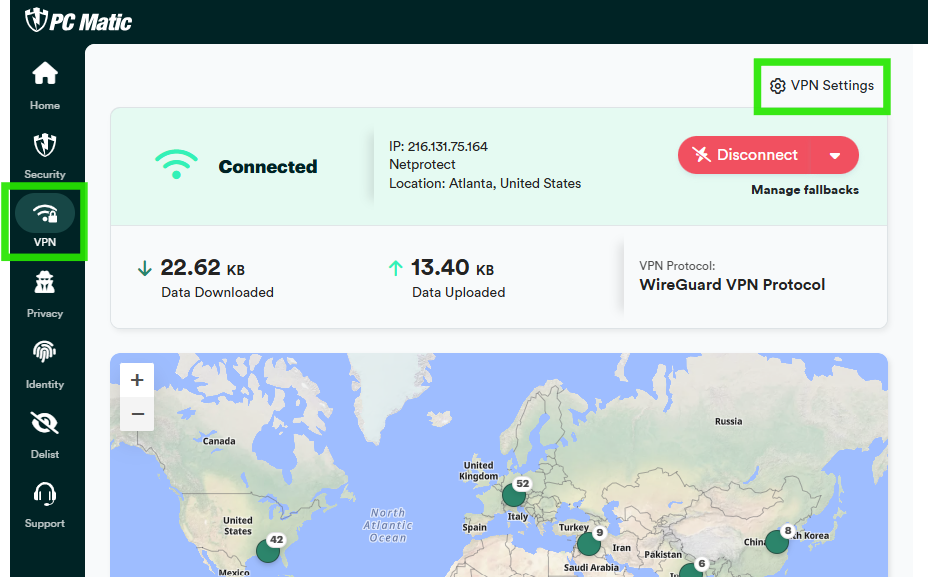
- To use the Trusted Zoning feature, open PC Matic, click the VPN tab on the left menu bar, then click VPN Settings.
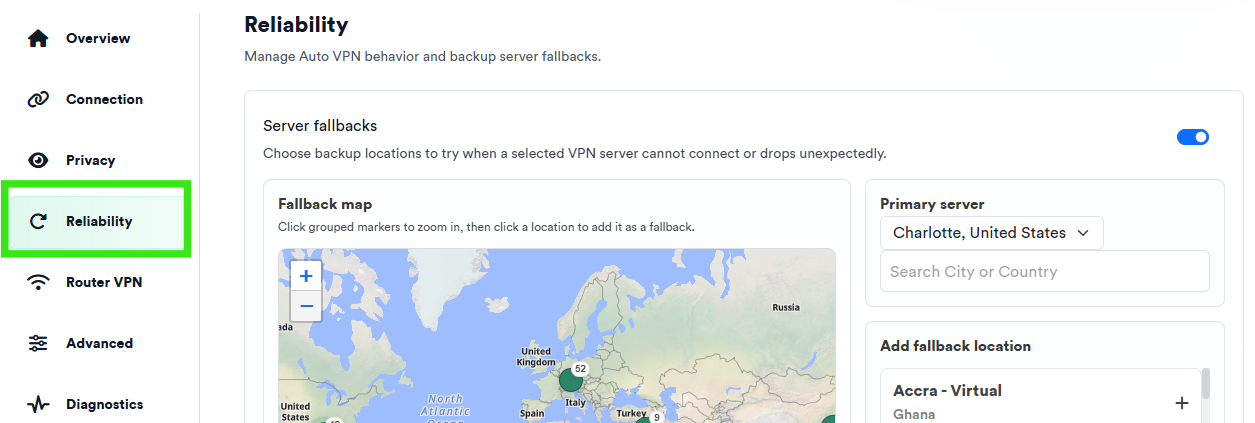
- Select Reliability from the VPN Settings menu.
- Scroll down to the Auto VPN section.
- Toggle the Auto VPN to ON
- Choose whether you wish to add your Home Location, Work Location, or a Custom Location.
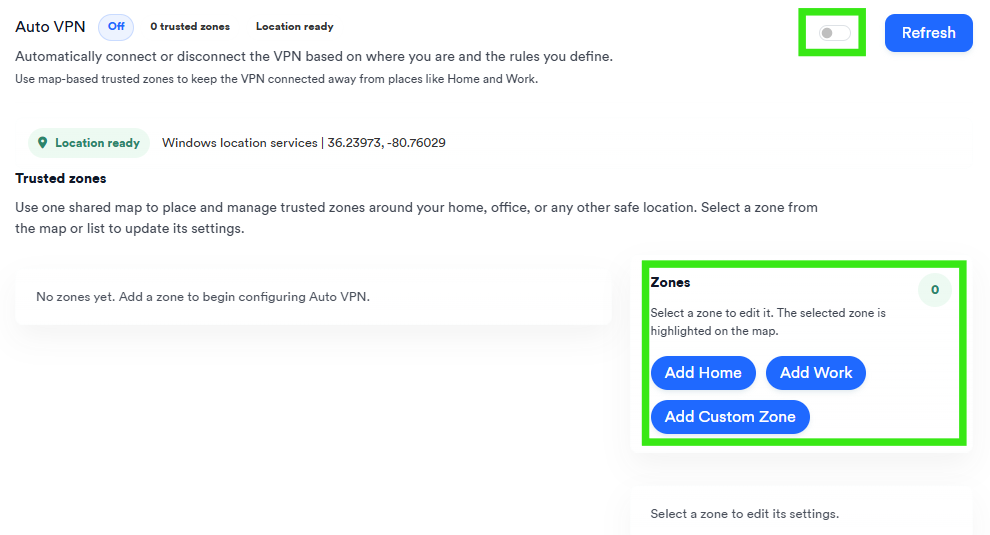
(Each option is identical in terms of setup. We will be using the Add Home option for this example.)
- You will notice that your location is plotted on the Trusted Zone Map, once you select Add Home.
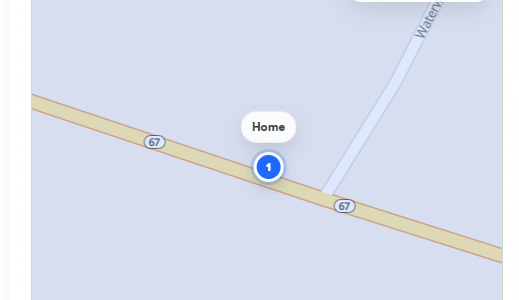
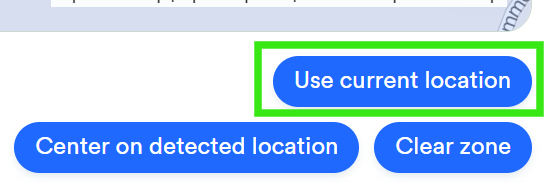
- Scroll down below the map, and click Use current location.
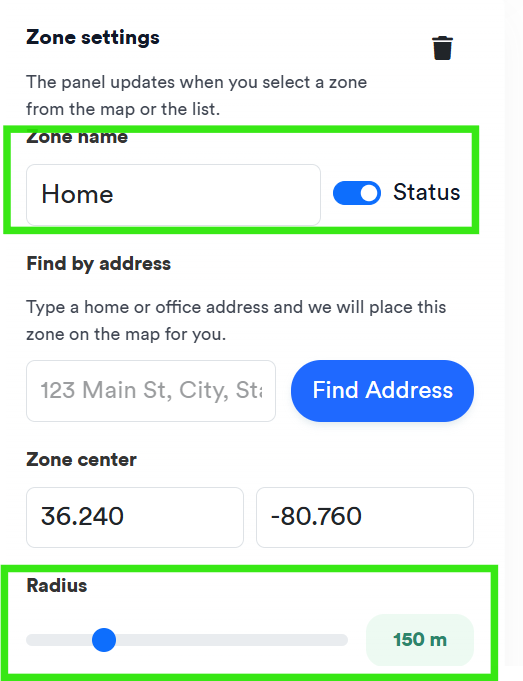
- To the right of the map, you will need to Edit the Zone name (Optional), then select a Zone Radius.
- For best results keep the zone within the range of your WiFi network.
- Most WiFi Networks will extend 100 - 150 ft from your home.
- You must also take into account your device GPS accuracy, and allow for faults.
(We suggest 150 - 200 m)
-
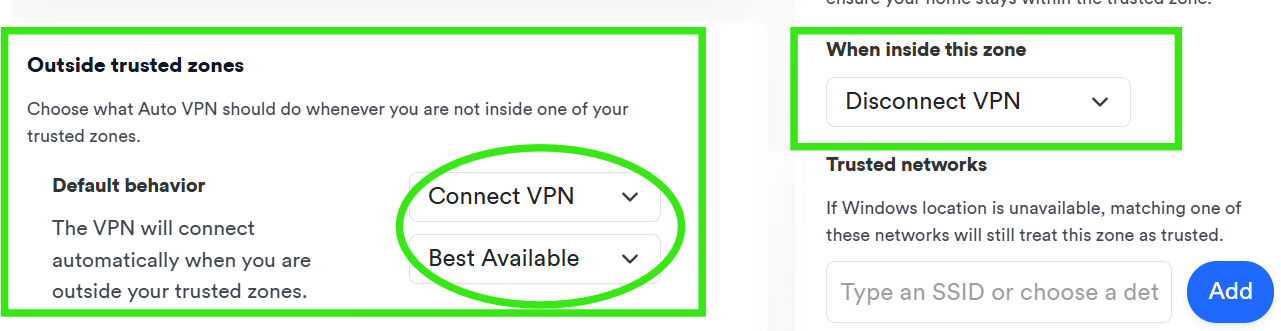
Next you will want to select the inside zone and outside zone VPN actions. If you trust the zone you are in. Keeping the settings in the default setting will ensure your VPN automatically turns on when you exit your Trusted Zone. It will then automatically turn off, once your device gets inside that zone.
- The zone will automatically save all of your preferences. Once you have made all of your customizations, the zone is set.
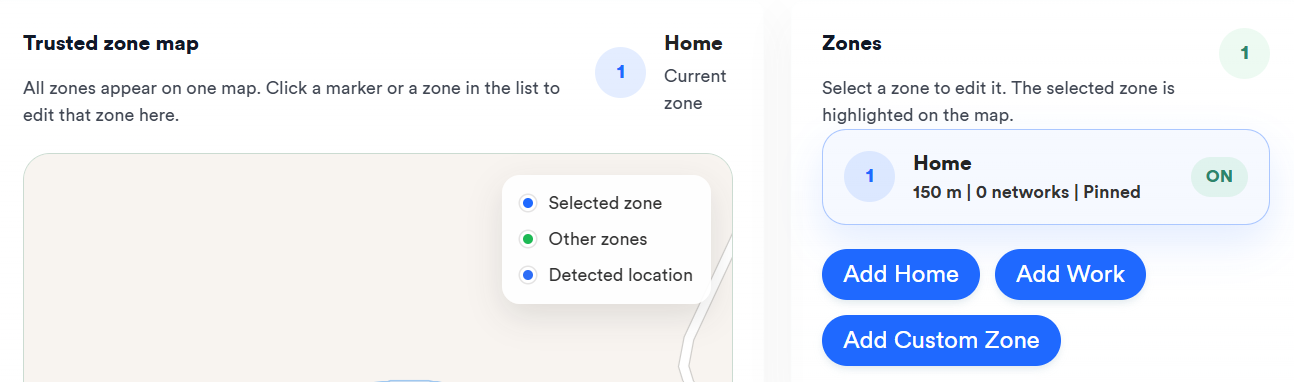
- You can have multiple zones. If you need to add more, just select the Add Work or Add Custom Zone button.